AJAX (Async JavaScript And XML) 异步JavaScript和XML
Jesse James Garrett 讲如下技术取名叫做 AJAX:异步的 JavaScript 和 XML
- 使用 XMLHttpRequest 发请求
- 服务器返回 XML 格式的字符串
- JS 解析 XML,并更新局部页面
⚠️(现在服务器都是返回 JSON 格式)
如何发请求
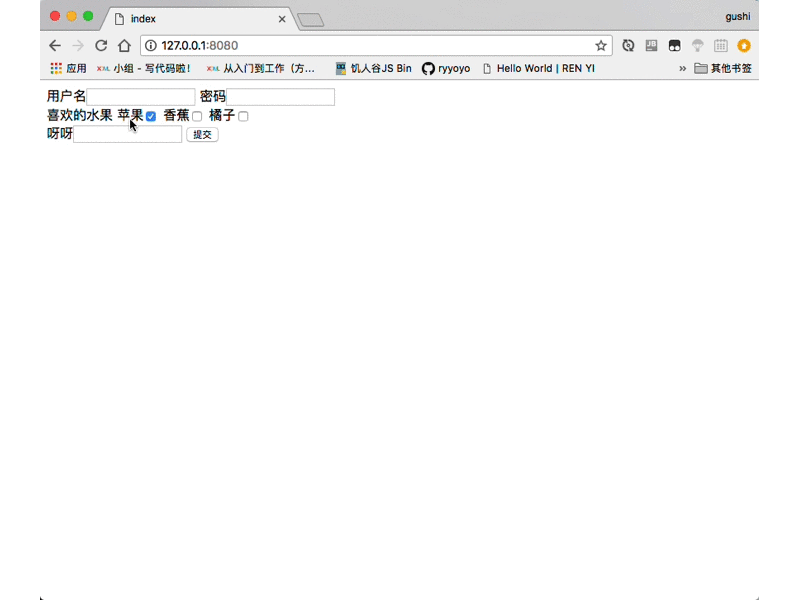
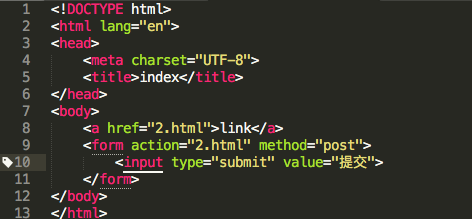
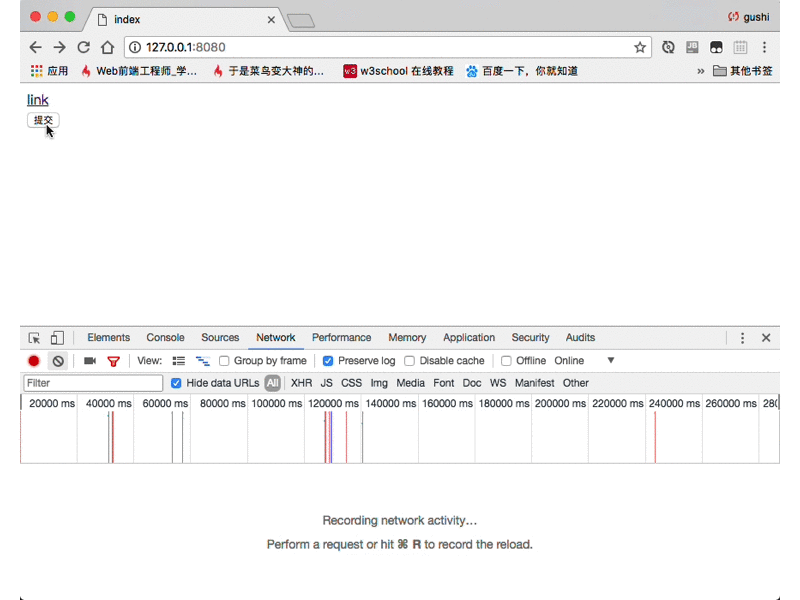
1.用 form 可以发GET或POST请求,但是会刷新页面或新开页面
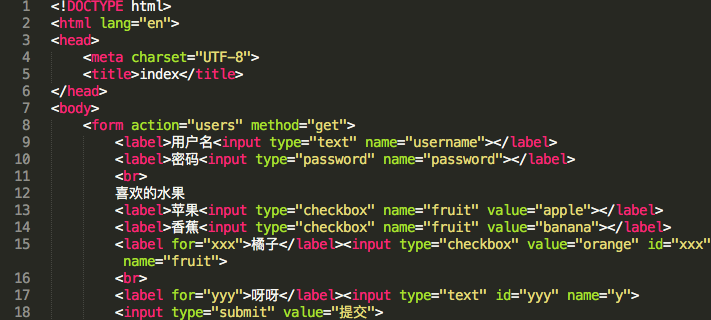
发 get 请求
发 get 请求
1 |
|
输入111 点击提交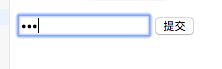
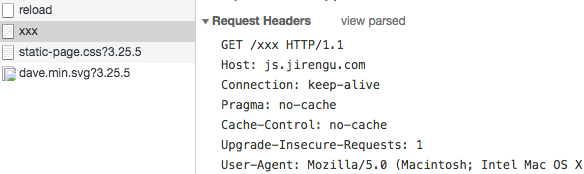
可以在控制台中看到 Request Headers(点view source)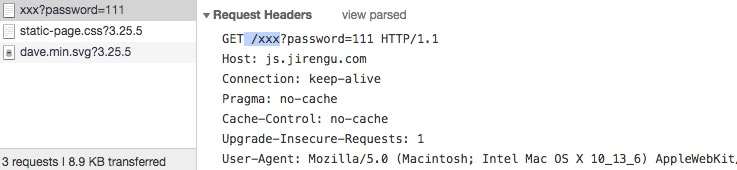
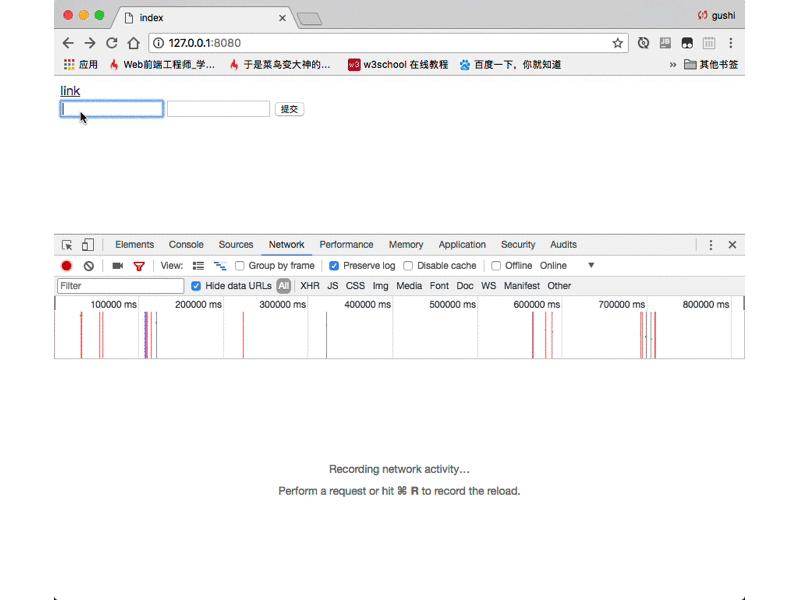
发 post 请求
发 post 请求
1 | <form action="/xxx" method="post"> |
输入123 点击提交
同样在控制台查看,可以看到 post 后面没有查询参数(点view source)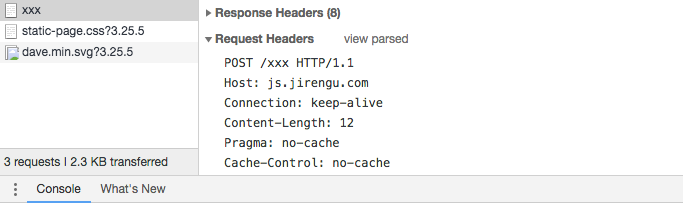
可以在 第四部分 Form Data 看到
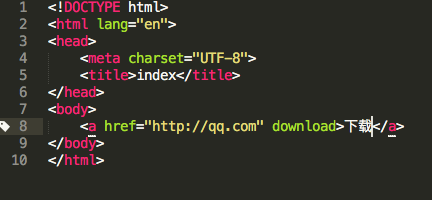
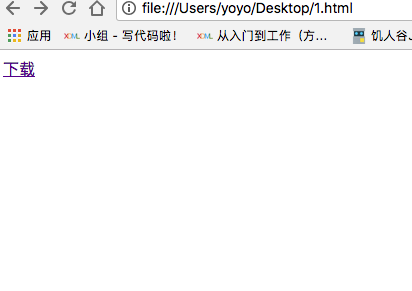
2.用 a 可以发 get 请求,但是也会刷新页面或新开页面
用 a 发 get 请求
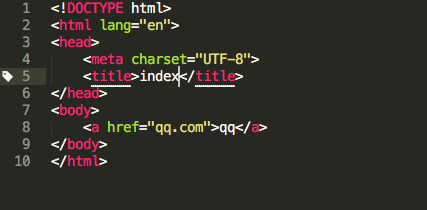
1 | <a href="/xxx"> |
3.用 img 可以发 get 请求,但是只能以图片的形式展示
用 img 可以发 get 请求
1 | var img = document.createElement('img') |

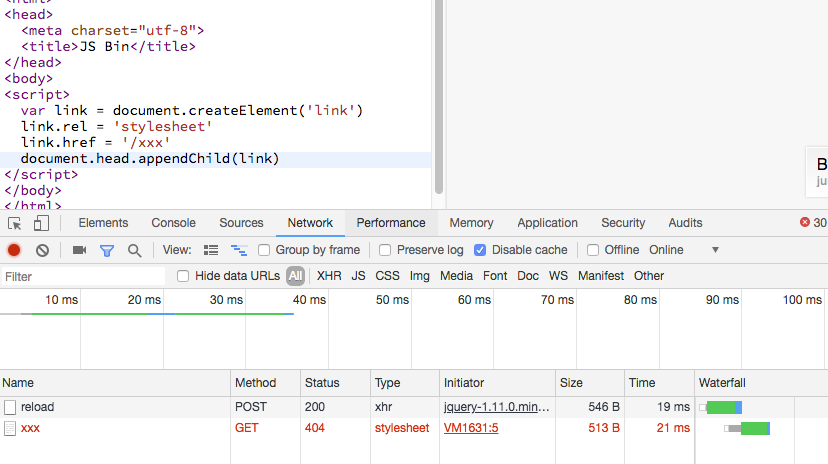
4.用 link 可以发 get 请求,但是只能以 CSS、favicon 的形式展示
用 link 可以发 get 请求
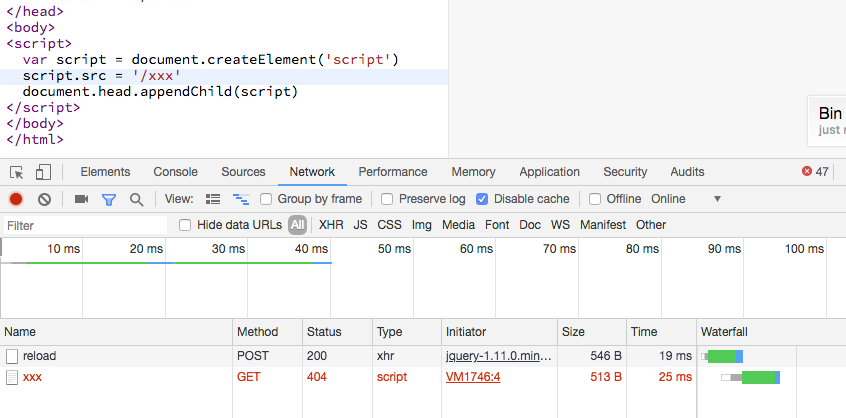
5.用 script 可以发 get 请求,但是只能以脚本的形式运行
用 script 可以发 get 请求
有没有什么方式可以实现 get、post、put、delete 请求都行
想以什么形式展示就以什么形式展示
有!用 AJAX 发请求
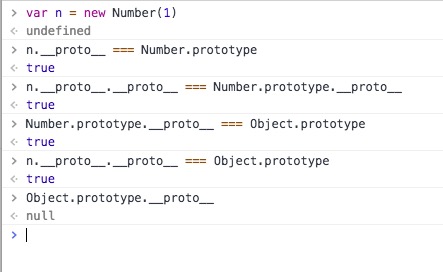
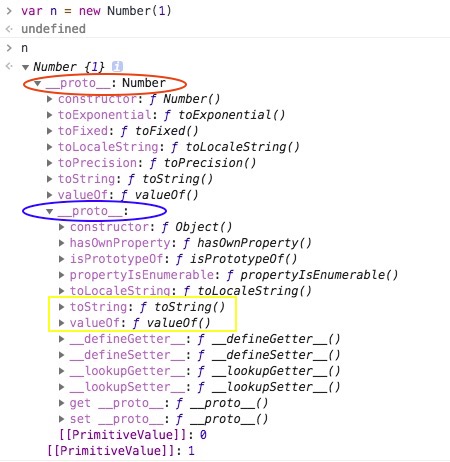
XMLHttpRequest
微软在 IE 5 率先在 JS 中引入 ActiveX 对象(API),使得 JS 可以直接发起 HTTP 请求。
随后 Mozilla、 Safari、 Opera 也跟进(抄袭)了,取名 XMLHttpRequest,并被纳入 W3C 规范
原生js发AJAX请求:
1 | let request = new XMLHttpRequest() // 1.产生这个对象 |
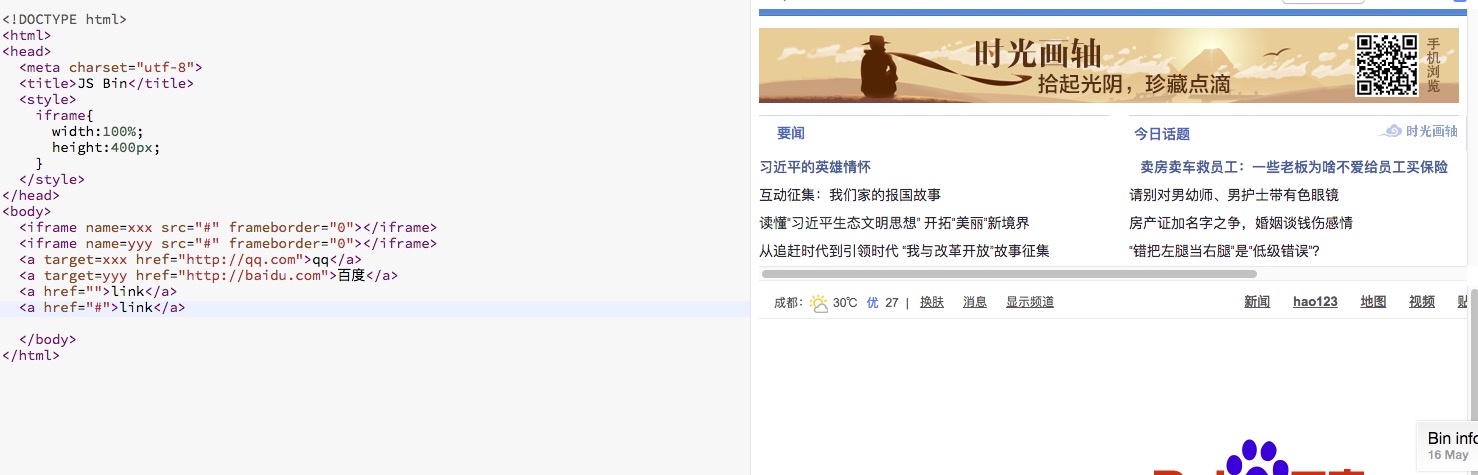
CORS 跨源资源共享 (Cross-Origin Resource Sharing)
同源策略
如果你的 js 不是 baidu.com 里面的,那你就不能向 baidu.com 发送任何 AJAX 请求
只有协议+端口+域名 一模一样一模一样 才能发 AJAX 请求
突破同源策略 === CORS跨域
如果浏览器没有 同源策略 那么网络就没隐私可言,
如果一个网页前端 非要访问另一个网页的后端,就可以让另一个网页的后端设置这一段代码
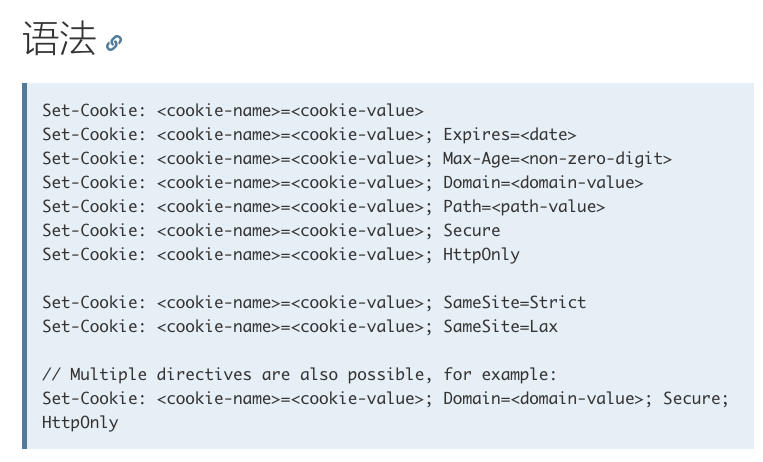
使用方法如下:
Access-Control-Allow-Origin是HTML5中定义的一种解决资源跨域的策略。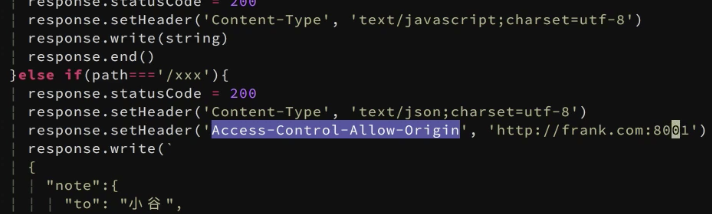
总结:
用 CORS 还是 JSONP?
JSONP 和 CORS 都可以发请求,不同在于,
JSONP 只能发 GET 请求,
CORS 可以选择发 POST / GET 请求,(要用 POST ,工作中打电话给 后端 要一个 CORS 头)
AJAX 很安全,因为有 同源策略


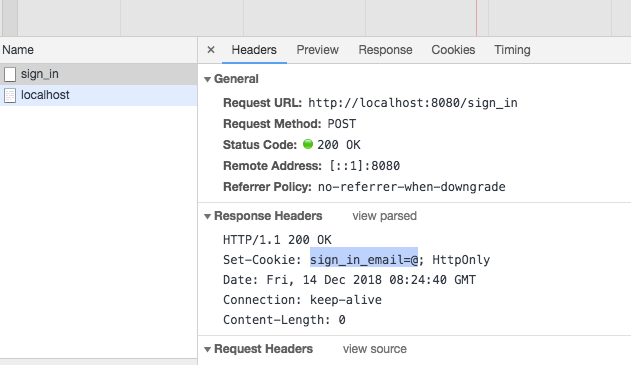
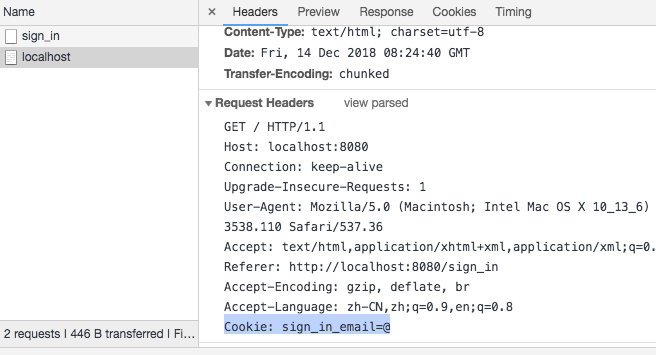


 ,让 POST 也有
  ,但是,我们没办法让 GET 请求有